
1. Úvod
Thank you for choosing the Juki HZL-12ZS Sewing Machine. This compact and user-friendly machine is designed for a variety of sewing tasks, making it ideal for beginners and experienced sewers alike. To ensure safe and efficient operation, please read this instruction manual thoroughly before using your machine. Keep this manual in a safe place for future reference.

Obrázek: Přední strana view of the Juki HZL-12ZS Sewing Machine, showcasinjeho kompaktní design a ovládací voliče.
2. Důležité bezpečnostní pokyny
Při používání elektrického spotřebiče je třeba vždy dodržovat základní bezpečnostní opatření, včetně následujících:
- Před použitím tohoto šicího stroje si přečtěte všechny pokyny.
- Držte prsty mimo všechny pohyblivé části. Jehla je obzvláště opatrná.
- Always unplug the sewing machine from the electrical outlet immediately after using and before cleaning, removing covers, or when making any user servicing adjustments mentioned in the instruction manual.
- Používejte tento spotřebič pouze k účelu, ke kterému je určen, jak je popsáno v tomto návodu.
- Nikdy nepoužívejte šicí stroj, pokud má poškozený kabel nebo zástrčku, pokud nefunguje správně, nebo pokud upadl či byl poškozen.
- Nikdy neupouštějte ani nevkládejte žádné předměty do žádného otvoru.
- Nepoužívejte venku.
- Nepracujte tam, kde se používají aerosolové (sprejové) produkty nebo kde je podáván kyslík.
- Pro odpojení otočte všechny ovládací prvky do polohy vypnuto a poté vytáhněte zástrčku ze zásuvky.
3. Nastavení
3.1 Vybalení
Carefully remove the machine from its packaging. Remove all packing materials, tape, and protective films from the machine. Ensure all accessories are present before discarding packaging.

Image: Cover of the Juki HZL-12ZS instruction manual, indicating the model number.
3.2 Connecting Power and Foot Pedal
- Zasuňte zástrčku stroje do zásuvky stroje.
- Insert the foot pedal plug into the machine's foot pedal socket.
- Zapojte napájecí kabel do vhodné elektrické zásuvky.
- Turn on the power switch, usually located on the side of the machine. The sewing light should illuminate.

Image: The foot pedal for the Juki HZL-12ZS Sewing Machine, with its attached power cord.
3.3 Identifying Main Components
Familiarize yourself with the key parts of your sewing machine:
- Trn cívky: Drží cívku nitě.
- Napínací kotouč: Upravuje napětí horní nitě.
- Volič stehů: Chooses stitch patterns.
- Volicí kolečko pro délku stehu: Adjusts stitch length.
- Volič šířky stehu: Adjusts stitch width (if applicable).
- Napínací páka: Vede horní nit.
- Jehla Clamp: Drží jehlu.
- Přítlačná patka: Holds fabric against feed dogs.
- Krmné dosky: Move fabric under the needle.
- Navíječ cívky: Navíjí nit na cívku.
- Ruční kolo: Ručně zvedá a spouští jehlu.

Obrázek: Detail view of the Juki HZL-12ZS control dials, including the stitch selector and tension dial.
4. Navlékání nitě do stroje
4.1 Navíjení cívky
- Umístěte špulku nitě na špulku.
- Guide the thread through the upper thread guide and around the tension disc for bobbin winding.
- Insert the thread end through a hole in the bobbin from the inside out.
- Place the bobbin onto the bobbin winder spindle and push it to the right until it clicks.
- Hold the thread end and gently press the foot pedal. The bobbin will start to wind. Once a few turns are made, trim the excess thread end.
- Continue winding until the bobbin is full. The winder will automatically stop or slow down.
- Cut the thread, push the bobbin winder spindle to the left, and remove the wound bobbin.
4.2 Navlékání horní nitě
- Zvedněte páčku přítlačné patky.
- Nasaďte cívku nitě na kolík cívky.
- Provlékněte nit horním vodítkem nitě.
- Bring the thread down the right channel, around the bottom, and up the left channel.
- Provlékněte navíjecí páku zprava doleva.
- Bring the thread down through the lower thread guide.
- Thread the needle from front to back. If your machine has an automatic needle threader, use it carefully.

Obrázek: Detail view of the needle and presser foot area of the Juki HZL-12ZS, showing the threading path.
5. Vložení cívky
- Open the bobbin cover plate, usually located on the needle plate.
- Insert the wound bobbin into the bobbin case with the thread unwinding in the correct direction (usually counter-clockwise).
- Provlékněte nit cívky otvorem pro napínací pružinu.
- Hold the upper thread lightly with one hand. Turn the handwheel towards you to lower and then raise the needle. This will catch the bobbin thread.
- Pull both the upper and bobbin threads to the back under the presser foot.
- Zavřete kryt cívky.

Image: Open bobbin area of the Juki HZL-12ZS, showing the bobbin case and threading path.
6. Obsluha stroje
6.1 Výběr stehu
Turn the stitch selector dial to choose your desired stitch pattern. The machine offers a range of utility and decorative stitches. Refer to the stitch guide on the machine or in the full manual for details on each stitch.
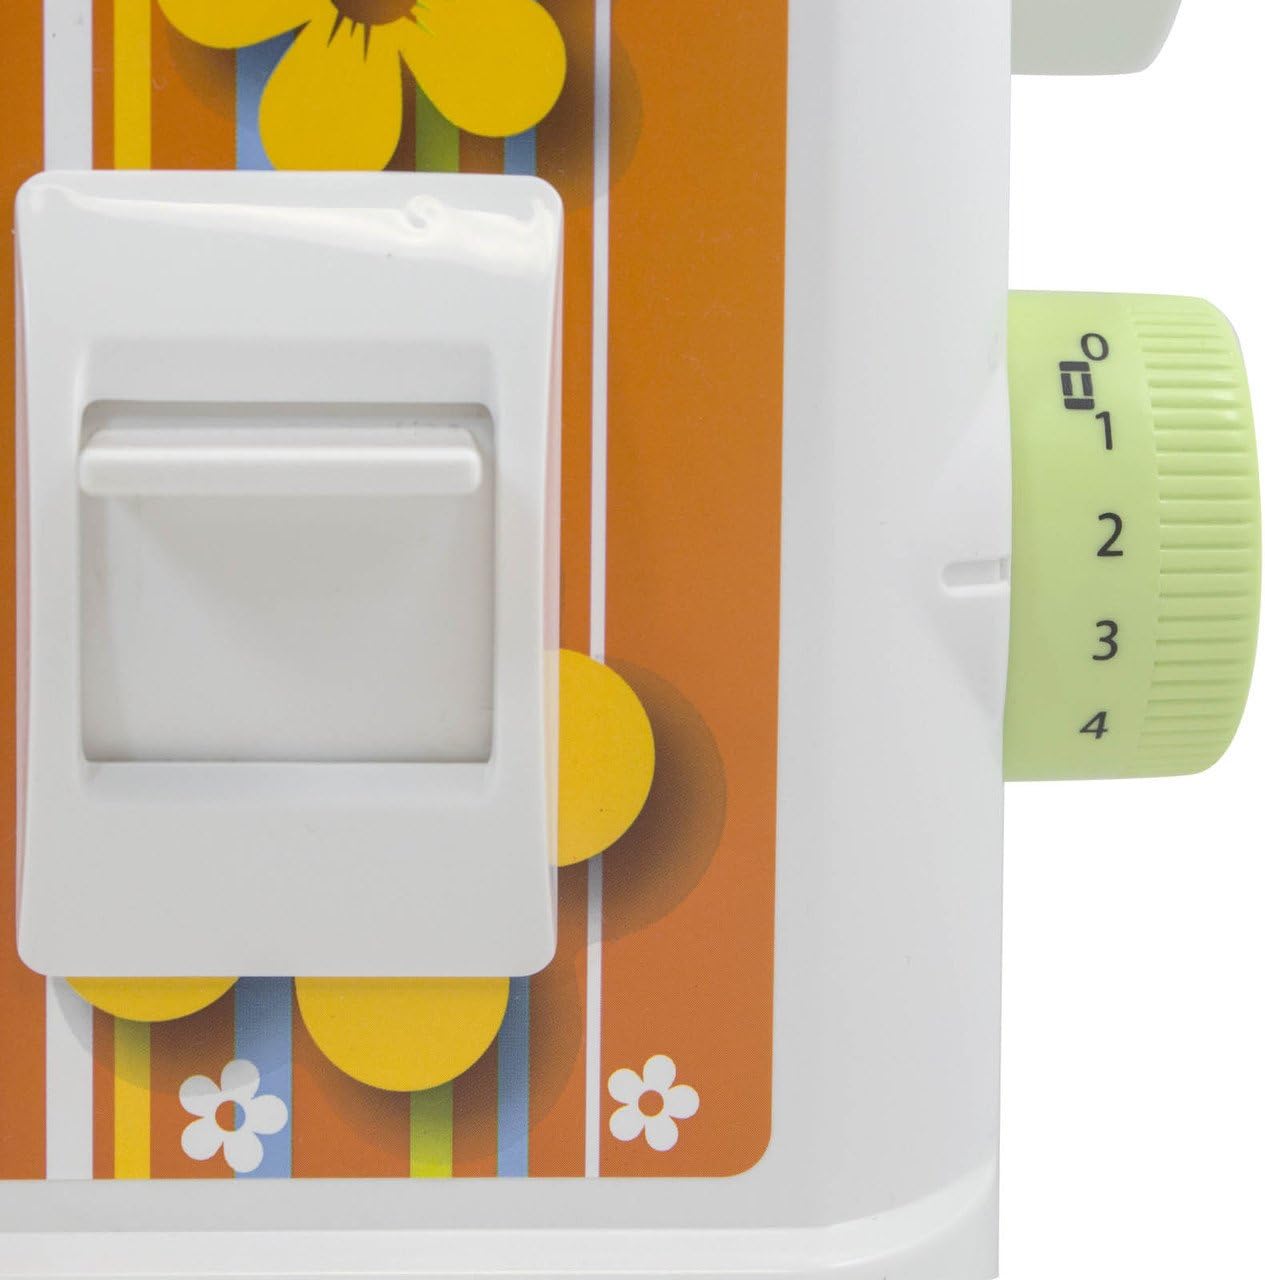
Image: Close-up of the Juki HZL-12ZS showing the stitch selection dial and stitch patterns.
6.2 Délka a šířka stehu
Adjust the stitch length and width using their respective dials. For most general sewing, a medium stitch length (around 2.5) is suitable. Adjust width for zigzag or decorative stitches as needed.
6.3 Šití v opačném směru
To secure the beginning and end of a seam, press and hold the reverse lever/button while sewing. The machine will sew backward. Release the lever/button to resume forward sewing.
6.4 Šití s volným ramenem
To sew cylindrical items like sleeves, cuffs, or pant legs, slide off the accessory box to reveal the free arm. This allows fabric to be easily maneuvered around the narrow arm.
7. Údržba
7.1 Čištění
Regular cleaning is essential for smooth operation. Always unplug the machine before cleaning.
- Hook Area: Remove the needle, presser foot, needle plate, and bobbin case. Use the small brush provided (or a soft brush) to remove lint and dust from the hook race and feed dogs.
- Povrch stroje: Vnější povrch přístroje otřete měkkým, suchým hadříkem. Nepoužívejte agresivní chemikálie ani abrazivní čisticí prostředky.

Image: Various accessories included with the Juki HZL-12ZS, such as bobbins, needles, and a cleaning brush.
7.2 Výměna jehly
Replace the needle regularly (after 8-10 hours of sewing or if it becomes bent/dull) to prevent skipped stitches and fabric damage. Use only appropriate sewing machine needles for your machine.
8. Řešení problémů
If you encounter issues, check the following common problems before seeking professional service:
- Vynechané stehy: Ensure the needle is inserted correctly, not bent, and is the correct type for your fabric. Re-thread the machine completely.
- Přetržení nití: Check for correct threading, proper tension, a burr on the needle or hook, or a damaged needle.
- Tkanina se nepodává: Ensure the presser foot is lowered and the feed dogs are not disengaged. Check for lint buildup under the needle plate.
- Stroj se nespouští: Verify the power cord and foot pedal are securely plugged in, and the power switch is on.
9. Specifikace
| Funkce | Specifikace |
|---|---|
| Číslo modelu | HZL-12ZS |
| Rozměry balení | 15.6 x 13.2 x 9 palce |
| Hmotnost položky | 12.6 libry |
| Zdroj napájení | Elektrický kabel |
| Je Elektrický | Ano |
| UPC | 189684000602 |
10. Záruka a podpora
For detailed warranty information, please refer to the warranty card included with your machine or visit the official Juki website. For technical support, service, or to order replacement parts, contact Juki customer service or your authorized dealer. Always use genuine Juki parts for repairs.