
1. Úvod
This manual provides comprehensive instructions for the installation, operation, and maintenance of your LUX Pro PSD010B Mechanical Non-Programmable Thermostat. This thermostat is designed for use with 1 Heat Only systems, including fireplaces, stoves, and in-floor radiant heating. It does not require a fan switch and is battery-powered for reliable operation.

Obrázek 1.1: Přední view of the LUX Pro PSD010B Thermostat, displaying a temperature of 72 degrees Fahrenheit on its digital screen, along with up and down arrow buttons for temperature adjustment.
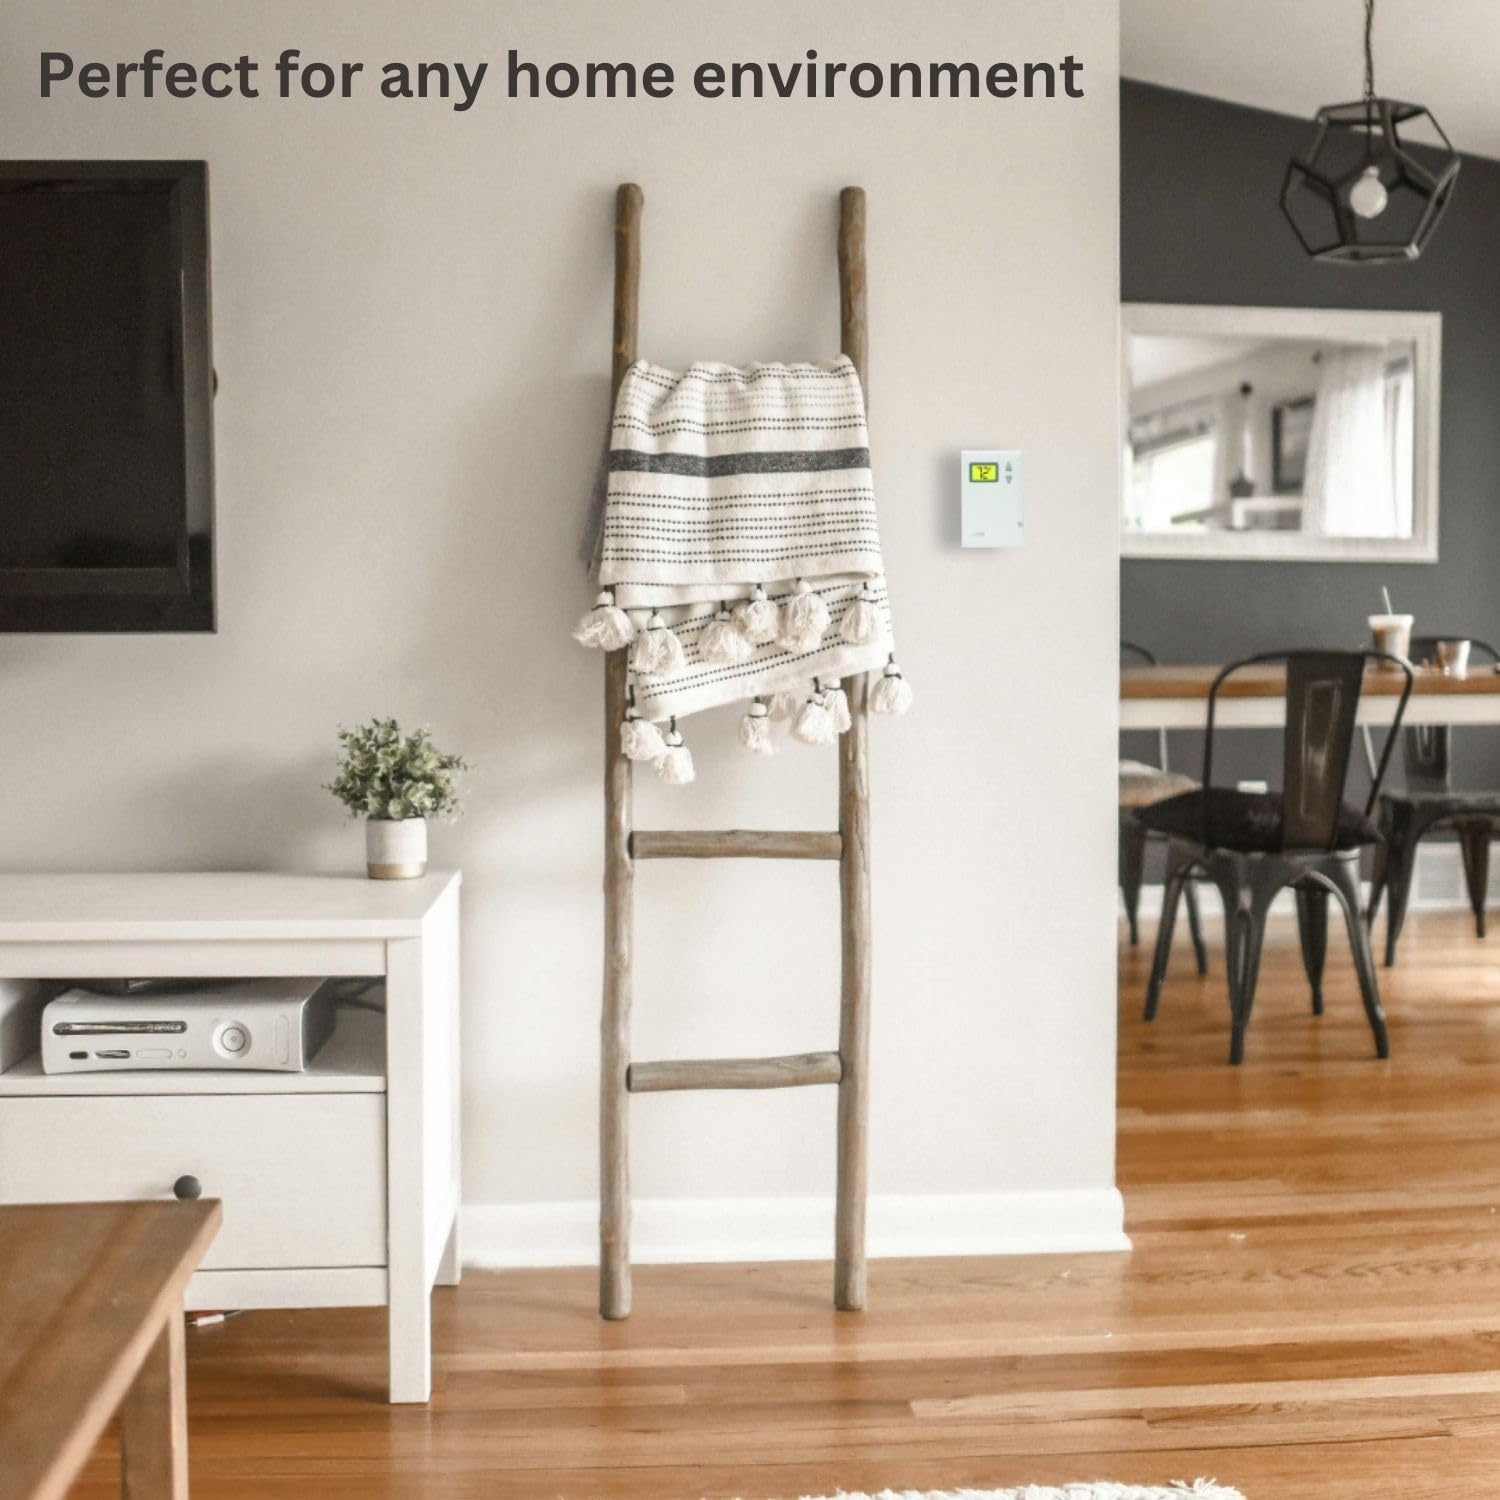
Obrázek 1.2: The LUX Pro PSD010B Thermostat mounted on a wall in a contemporary living room, demonstrating its discreet integration into a home environment.
2. Bezpečnostní informace
- Always turn off power to the heating system at the main fuse or circuit breaker panel before installing or servicing the thermostat.
- Tento termostat je určen pro nízké objemytage (24V) heating systems or millivolt systems. Do not use with line voltagsystémy (120 V/240 V).
- Ujistěte se, že všechna elektroinstalace jsou bezpečná a splňují místní elektrotechnické předpisy.
- Baterie zlikvidujte v souladu s místními předpisy. Baterie nespalujte.
3. Obsah balení
Ověřte, zda váš balíček obsahuje následující položky:

Obrázek 3.1: Visual representation of the items included in the product box: the PSD010B thermostat, two AA LR6 batteries, two ST screws, two wall anchors, and wire labels.
- LUX Pro PSD010B Thermostat
- 2 AA LR6 Batteries
- 2 Mounting Screws (ST screws)
- 2 nástěnné kotvy
- Drátěné štítky
- Návod k použití (tento dokument)
4. Instalace
4.1 Kontrolní seznam před instalací
- Ensure your heating system is compatible (see Section 6: System Compatibility).
- Gather necessary tools: Phillips screwdriver, wire strippers (if needed), drill (if installing wall anchors).
- Turn off power to your heating system at the circuit breaker or fuse box.
4.2 Demontáž starého termostatu
- Turn off the power to your heating system.
- Odstraňte kryt starého termostatu.
- Note the wire connections. This thermostat is designed for 2-wire heat-only systems. Label the wires (e.g., R and W) using the provided wire labels.
- Odpojte vodiče a sejměte starou základnu termostatu ze zdi.
4.3 Montáž nového termostatu
- Oddělte přední kryt od základny termostatu.
- Position the thermostat base on the wall where the old thermostat was located. Ensure it is level.
- Mark the mounting holes. If new holes are required, drill pilot holes and insert wall anchors if mounting into drywall.
- Připevněte základnu termostatu ke zdi pomocí dodaných šroubů.
4.4 Zapojení
The PSD010B is compatible with 2-wire heat-only systems. Connect the wires from your heating system to the terminals on the thermostat base. Typically, these are R (power) and W (heat call) wires. Ensure connections are tight.
4.5 Instalace baterie
- Insert the two AA batteries into the battery compartment on the back of the thermostat, observing the correct polarity (+/-).
- Nasaďte přední kryt na základnu termostatu.
- Restore power to your heating system at the main fuse or circuit breaker panel.
5. Provoz
5.1 Display and Controls Overview
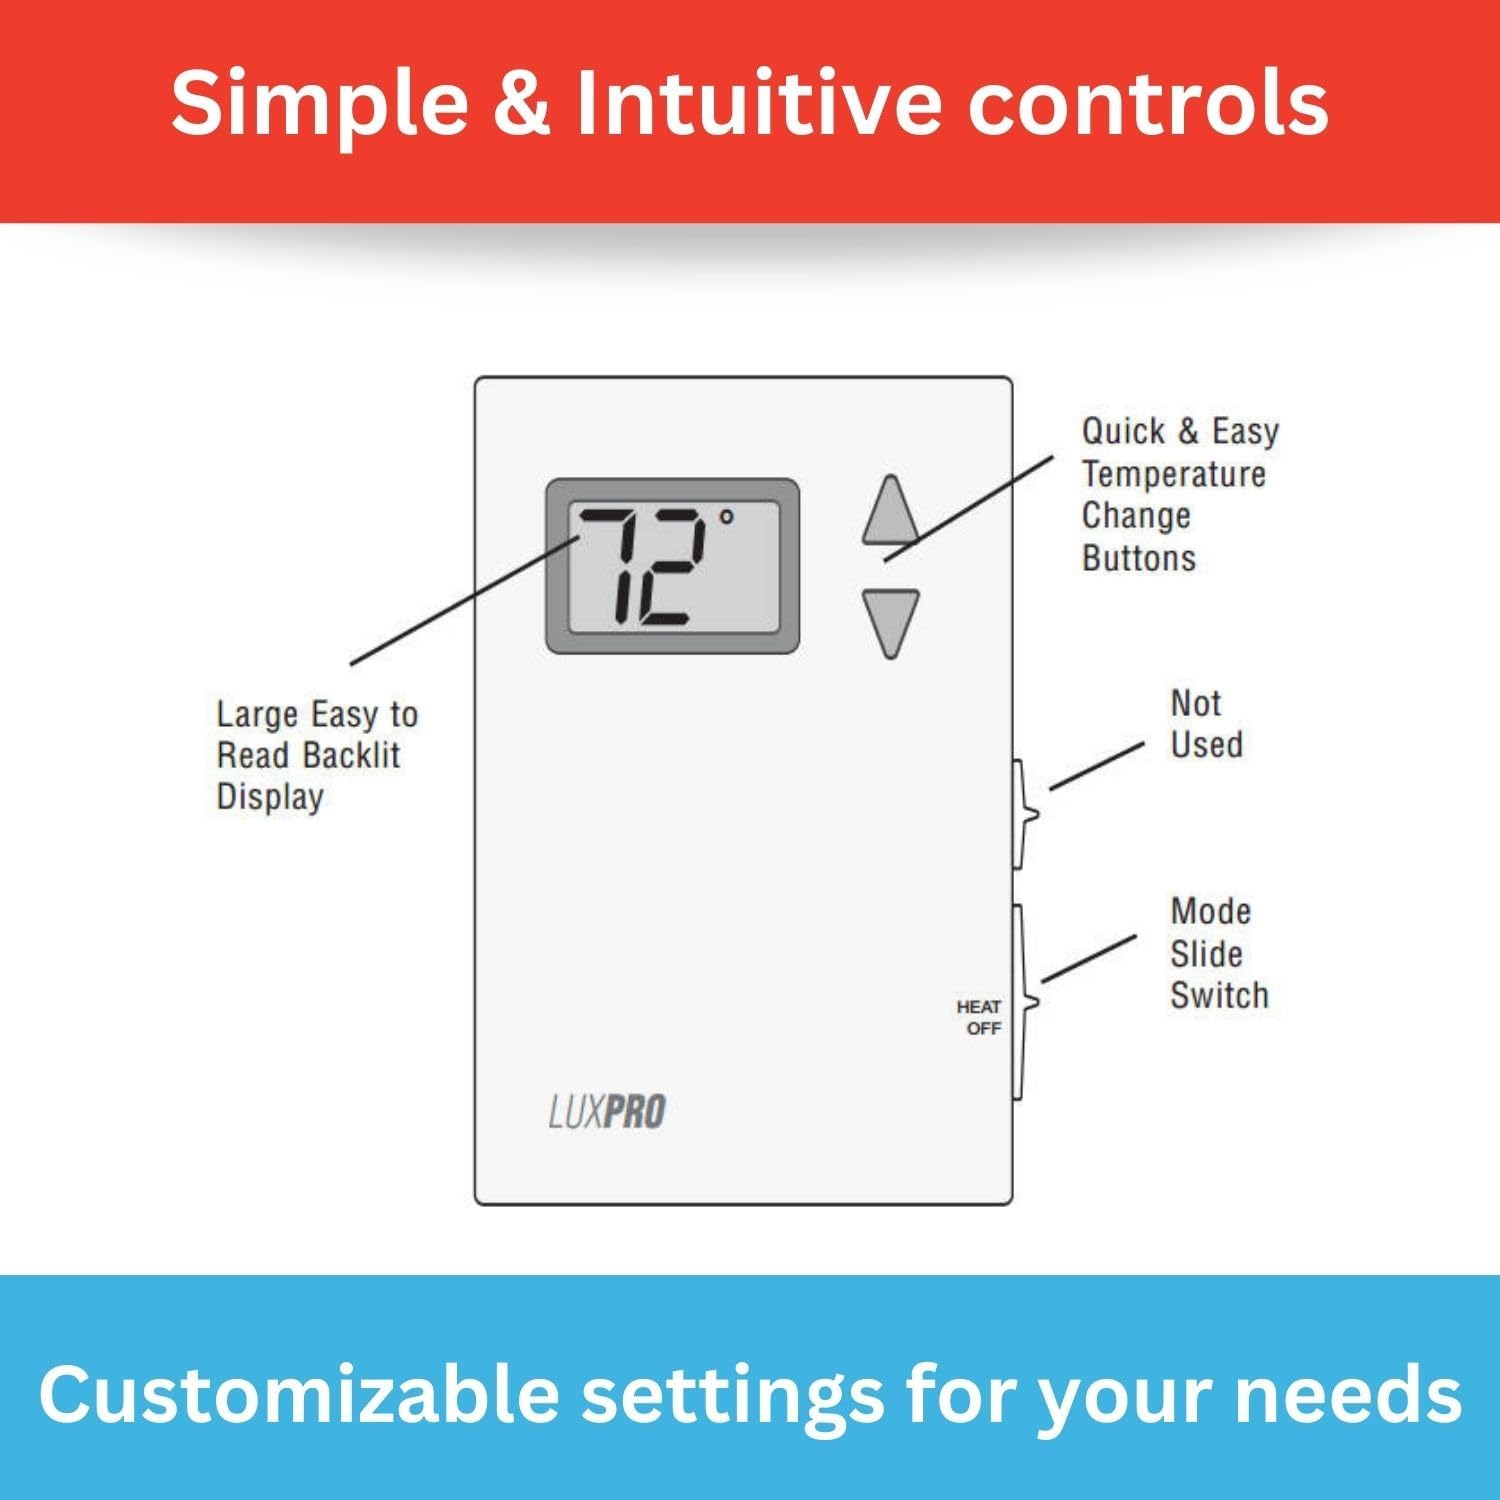
Obrázek 5.1: Diagram illustrating the controls of the LUX Pro PSD010B Thermostat, highlighting the large backlit display, quick and easy temperature change buttons (up/down arrows), and the Heat/Off mode slide switch on the side.
- Digitální displej: Shows the current room temperature and the set temperature. It is backlit for easy reading.
- Tlačítka nahoru/dolů: Používá se k nastavení požadované teploty.
- Posuvný přepínač režimů: Located on the side of the thermostat. Select 'HEAT' for heating operation or 'OFF' to turn the system off.
5.2 Nastavení teploty
Pro nastavení požadované teploty použijte Up or Dolů arrow buttons. The display will show the set temperature as you adjust it, then revert to showing the current room temperature after a few seconds. The thermostat will automatically activate your heating system when the room temperature falls below your set temperature.
5.3 Výběr režimu
Use the slide switch on the side of the thermostat to select the operating mode:
- TEPLO: Termostat bude řídit váš topný systém tak, aby udržoval nastavenou teplotu.
- OFF: The heating system will remain off.
5.4 Fahrenheit/Celsius Selection
The thermostat allows selection between Fahrenheit and Celsius temperature display. Refer to the detailed specifications or the full manual for instructions on how to switch this setting, typically involving a button combination or a switch on the circuit board.
5.5 Adjustable Temperature Limits
The thermostat features adjustable temperature limits, allowing you to set a minimum and maximum temperature range. This prevents the temperature from being set too high or too low. Consult the full manual for instructions on how to configure these limits.
6. Kompatibilita systému
The LUX Pro PSD010B thermostat is designed for specific heating systems. Please review the compatibility information below before installation.

Obrázek 6.1: A chart detailing the system compatibility of the LUX Pro PSD010B Thermostat. It is compatible with 2-wire Hydronic (Hot Water), 750 Millivolt, and Gas Fireplaces (24V). It is not compatible with Heat Pump Multistage, Radiant Ceiling Heat, Electric Baseboards, Heat Pump w/ Auxiliary Heat, Portable space heaters, 3-wire Hydronic (Hot Water), Gas/Oil/Electric Furnace - Multistage, Cool Multistage, Cooling only, Plug-in air conditioners, Heat Pump w/o Auxiliary Heat, Gas/Oil/Electric Furnace - Heating only, and Gas/Oil/Electric Furnace - Single Stage.
Compatible Systems (Heat Only - 24V or Millivolt)
- 2-wire Hydronic (Hot Water) systems
- 750 Millivolt systems (e.g., gas fireplaces, floor furnaces)
- Gas Fireplaces (24V)
Není kompatibilní s
- Heat Pump Multistage systémy
- Radiant Ceiling Heat
- Electric Baseboards
- Tepelné čerpadlo s pomocným ohřevem
- Portable space heaters
- 3-wire Hydronic (Hot Water) systems
- Gas/Oil/Electric Furnace - Multistage
- Cool Multistage systémy
- Cooling only systems
- Plug-in air conditioners
- Tepelné čerpadlo bez přídavného tepla
- Gas/Oil/Electric Furnace - Heating only (if it requires a fan control)
- Gas/Oil/Electric Furnace - Single Stage (if it requires a fan control)
7. Údržba
7.1 Výměna baterie
The thermostat is powered by two AA batteries. When the battery power is low, a low battery indicator will appear on the display. Replace batteries annually or when the low battery indicator appears to ensure continuous operation.
- Gently pull the bottom of the thermostat cover forward to release it from the base.
- Vyjměte staré baterie AA.
- Vložte dvě nové alkalické baterie typu AA a dbejte na správnou polaritu.
- Snap the cover back onto the thermostat base.
7.2 Čištění
Očistěte vnější povrch termostatu měkkým hadříkemamp hadříkem. Nepoužívejte abrazivní čisticí prostředky ani rozpouštědla. Nestříkejte tekutiny přímo na termostat.
8. Řešení problémů
| Problém | Možná příčina | Řešení |
|---|---|---|
| Žádný displej nebo prázdná obrazovka | Vybité nebo nesprávně nainstalované baterie | Vyměňte baterie za nové alkalické baterie typu AA a dbejte na správnou polaritu. |
| Topný systém se nezapíná |
|
|
| Nepřesný údaj o teplotě | Thermostat located near heat source/draft, or internal sensor issue. | Zajistěte, aby termostat nebyl vystaven přímému slunečnímu záření, průvanu ani zdrojům tepla. Pokud problém přetrvává, kontaktujte podporu. |
9. Specifikace

Obrázek 9.1: A detailed list of features for the LUX Pro PSD010B Thermostat, including digital, non-programmable operation, battery power, temperature range of 40°F to 90°F, clean design, large backlit display, easy installation, F/C selectable display, 5-minute minimum run/off time, and adjustable temperature stop.
- Model: PSD010B
- Typ: Mechanical, Non-Programmable
- Kompatibilita systému: 1 Heat Only (2-wire Hydronic, 750 Millivolt, 24V Gas Fireplaces)
- Zdroj napájení: 2 AA baterií (součástí balení)
- Rozsah teplot: 40 °F až 90 °F (4 °C až 32 °C)
- Typ displeje: Digitální, podsvícený LCD
- Typ ovládání: Button Control (Up/Down arrows), Slide Switch (Heat/Off)
- Rozměry: 1.13"H x 5"Š x 3.5"V
- Hmotnost položky: 0.4 libry (6.4 unce)
- svtage: 24 Volts (compatible with millivolt systems)
- Materiál: Plast
- Typ montáže: Držák na zeď
- UPC: 021079070107
10. Záruka a podpora
Termostat LUX Pro PSD010B je dodáván s 5letá omezená záruka, ensuring reliable performance and peace of mind. For warranty claims, technical assistance, or further inquiries, please refer to the contact information provided with your product packaging or visit the official LUX webmísto.

Obrázek 10.1: The LUX Pro PSD010B Thermostat displayed with icons highlighting its key features: a backlit display, adjustable temperature limits, battery-only power, and a 5-year limited warranty.