
Zavedení
The Avital 4113LX Remote Start System provides convenient remote engine starting capabilities for your vehicle. This system includes two 1-button remote controls and features such as remote start and panic mode for enhanced vehicle security and comfort.
- Remote Start System: Allows you to start your vehicle's engine from a distance.
- Dva dálkové ovladače s jedním tlačítkem: Provides two compact remote controls for system operation.
- Panický režim: Activates the vehicle's alarm to deter potential threats.
Co je v krabici
Your Avital 4113LX Remote Start System package includes the following components:
- Jednotka dálkového startu
- Two 1-Button Remote Controls
- Kabelové svazky
- LED indikátor
- Snímač otřesů
- Komorní spínač
- Installation Manual (refer to for detailed wiring diagrams)

Image: Avital 4113LX Remote Start System packaging, showing the main unit and two 1-button remotes.
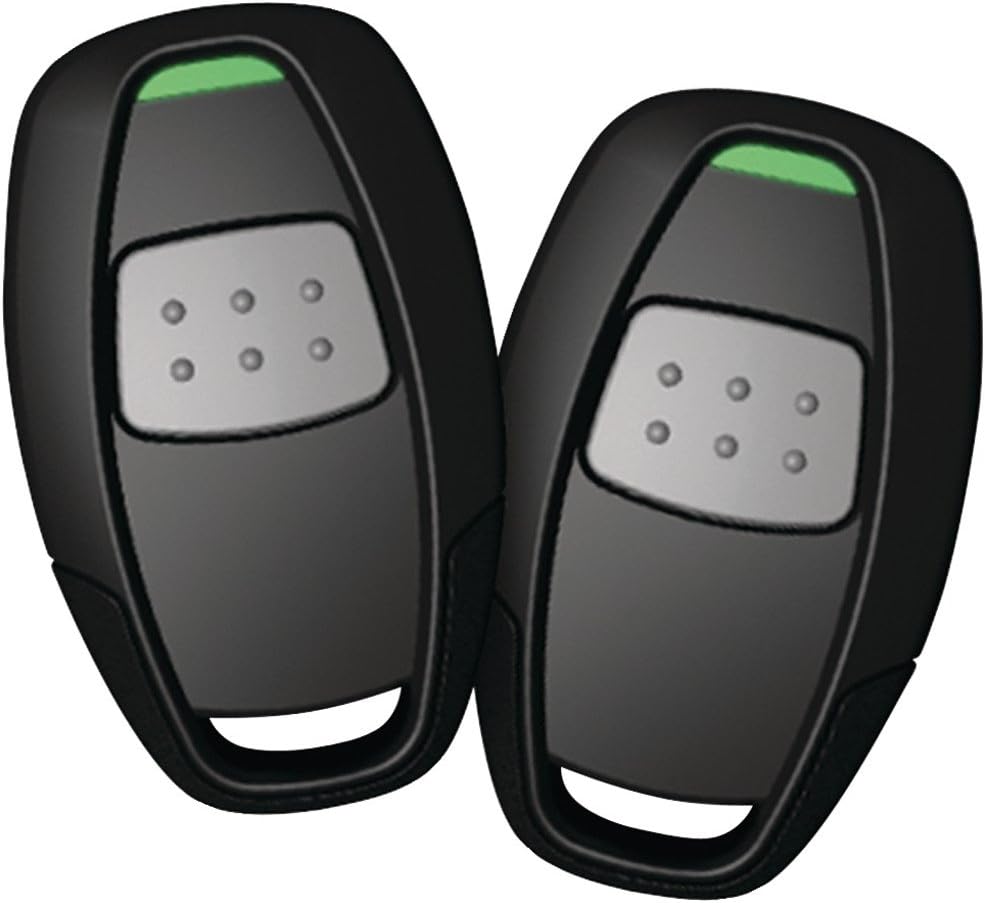
Image: Close-up of the two Avital 1-button remote controls included with the system.
Setup and Installation Overview
Proper installation of the Avital 4113LX Remote Start System requires a thorough understanding of 12V automotive electrical systems and the ability to read wiring diagrams specific to your vehicle. It is highly recommended that installation be performed by a qualified professional.
Následující text poskytuje obecný přehledview of the wiring components. Always refer to the detailed installation manual provided with your system for specific wiring diagrams and instructions for your vehicle model.
Key Wiring Components:
- LED Plug:
This plug connects the LED indicator to the main unit. The red wire typically shows 3V, and the blue wire shows a 250-300mA pulsed output when the alarm is armed, and steady when in valet mode.
- Snímač otřesů:
The shock sensor has four wires: black (ground), red (constant 12V, or power when armed), green (pre-warn trigger, sending a short pulse to the alarm), and blue (instant trigger, activating the full alarm cycle). For adding other sensors (glass break, tilt, radar), the green wire is typically for pre-warn and blue for instant trigger.
- Valet Switch:
This switch is used for programming and activating valet mode. It typically has a black wire (constant ground) and a gray wire (momentary ground pulse to the alarm module for programming or valet functions). This switch can also be used as a neutral safety or safety disable for the remote start, allowing you to shut down the remote start function for vehicle servicing.
- Auxiliary Harness (4-pin):
This harness includes wires for various auxiliary functions:
- **Blue Wire (200mA Status Output):** Provides a small amount of negative current when the remote start is active. Useful for hardwiring bypass kits.
- **Pink Wire (Negative Ignition Output):** Used for a third ignition output if required by the vehicle, in conjunction with a relay.
- **Purple Wire (200mA Starter Relay Turn-on):** Provides a negative output to trigger a relay for the starter motor, similar to the main ignition harness but with a lighter transistorized output.
- **Orange Wire (200mA Accessory Output):** Provides a negative output for accessories, requiring a relay for activation.
- Remote Start Harness (5-pin):
This harness includes wires for specific remote start functions:
- **Black/White Wire (Neutral Safety Switch Input):** Requires a ground signal to allow the remote start function to engage. If not grounded, the remote start will not activate.
- **Violet/White Wire (Tach Input):** Connects to the vehicle's tachometer signal. This input helps the remote start system monitor engine RPMs. For most modern cars, fuel injectors can be used to find a tach signal.
- **Brown Wire (Brake Shutdown Wire):** Connects to the vehicle's foot brake switch. This wire should rest at ground when the brake is not pressed and switch to 12V when the brake is pressed. This is a critical safety feature.
- **Blue/White Wire (200mA Second Status / Rear Defogger Output):** This is a latched output, meaning it holds the pulse output once activated. Useful for functions like rear defoggers that require a sustained signal.
- **Light Blue Wire (200mA Auxiliary Channel 3 Output):** Can be used for power trunk release or other accessories. This output is controlled by the auxiliary button on the remote.
- **Light Green/Black Wire (Factory Alarm Disarm Output):** Connects to the vehicle's factory alarm disarm wire. This ensures the factory alarm is disarmed when the remote start is activated, preventing false alarms.
- **Gray/Black Wire (Wait-to-Start Input / Glow Plug Input):** For diesel vehicles, this wire connects to the glow plug indicator. The system waits for the ground signal to disappear (indicating glow plugs are ready) before attempting to start the engine.
- Main Ignition Harness (6-pin):
This harness contains the primary power and ignition wires:
- **Red/White Wire (200mA Trunk Release Output):** Another auxiliary output for trunk release, typically requiring a relay.
- **Red Wire (Constant 12V Power Input):** Connects directly to a constant 12V power source, protected by a fuse.
- **Brown Wire (Positive Siren Output):** Connects to the positive terminal of the siren. The black wire of the siren should be connected to a good chassis ground.
- **Violet Wire (Positive Door Trigger Input):** Connects to a positive dome light circuit or door pin switch that switches to 12V when the door is opened.
- **Green Wire (Negative Door Trigger Input):** Connects to a negative dome light circuit or door pin switch that switches to ground when the door is opened.
- **Black/White Wire (Dome Light Output / Supervision):** This output provides a ground signal to illuminate the interior dome lights when the alarm is disarmed or triggered, often blinking in conjunction with parking lights.
- **White/Blue Wire (Remote Start Activation Input):** Used when integrating the Avital 4113LX as a slave unit to an existing remote start system. A ground pulse on this wire will activate the remote start.
- **White Wire (Selectable Output):** This output's polarity (positive or negative) is determined by a jumper setting on the main unit. It can be configured for positive or negative parking light circuits.
Instalační videonávod:
Video: Detailed explanation of wiring components for a car alarm and remote starter system. This video provides a comprehensive guide to understanding each wire's function and proper connection.
Návod k obsluze
The Avital 4113LX Remote Start System is designed for ease of use with its two 1-button remote controls.
- Vzdálený start: Press and hold the single button on your remote control for approximately 3 seconds to activate the remote start function. The vehicle will start and run for a pre-set duration (typically 12 minutes by default).
- Panický režim: To activate panic mode, quickly press the button on your remote control twice. This will trigger the vehicle's alarm.
- Shutting Off Remote Start: If the vehicle is running via remote start, press and hold the button on the remote control for 3 seconds to shut off the engine.
- Režim obsluhy: Use the valet switch to temporarily disable the remote start function, useful for vehicle servicing.
Remote Range Test:
Video: A demonstration of the remote control's range, showing its effectiveness from various distances and through obstacles.
Údržba
To ensure the longevity and optimal performance of your Avital 4113LX Remote Start System, consider the following maintenance tips:
- Dálková výměna baterie: If the remote's range decreases or it becomes unresponsive, replace the 12V battery inside the remote control.
- Kontrola elektroinstalace: Periodically check all wiring connections for corrosion or looseness. Secure any loose connections to prevent system malfunctions.
- Čištění systému: Keep the main unit and remote controls clean and free from dust and moisture.
Odstraňování problémů
If you encounter issues with your Avital 4113LX Remote Start System, try the following troubleshooting steps:
- Dálkové spouštění se neaktivuje:
- Ensure the vehicle is in park and the parking brake is engaged (if applicable).
- Zkontrolujte baterii v dálkovém ovladači.
- Verify the neutral safety switch input (black/white wire) is receiving a proper ground signal.
- If a hood pin switch is installed, ensure the hood is fully closed.
- Alarm Triggering Randomly:
- Adjust the sensitivity of the shock sensor.
- Check door, hood, and trunk pin switches for proper function and ensure they are not loose or corroded.
- Dálkové ovládání nereaguje:
- Vyměňte baterii dálkového ovládání.
- Ensure you are within the remote's operational range.
- Re-program the remote controls if necessary (refer to the installation manual for programming steps).
Specifikace
| Rozměry produktu | 7.68 x 5.71 x 2.76 palce |
| Hmotnost položky | 1.71 libry |
| Číslo modelu položky | 4113 LX |
| Baterie | 1 12V battery required (for remotes) |
| Výrobce | Avital |
| Datum první dostupnosti | 13. března 2009 |
Záruka a podpora
The provided product information includes a legal disclaimer stating "No Returns." For detailed warranty information and technical support, please contact Avital directly or refer to the official documentation included with your purchase.
Navštivte Avital Store pro více produktů a informací.